CONTENT
Poultry Hatchery Operations: Complete Step-by-Step Guide
A poultry hatchery is a specialized facility where fertile eggs are handled, incubated, and hatched under controlled conditions. Successful hatchery management requires proper handling of eggs at every stage, along with careful control of sanitation, incubation conditions, and chick processing procedures.
The operation of a chick hatchery involves the production of the largest number of quality chicks possible from the hatching eggs received at the hatchery. In addition, chicks must be produced economically.
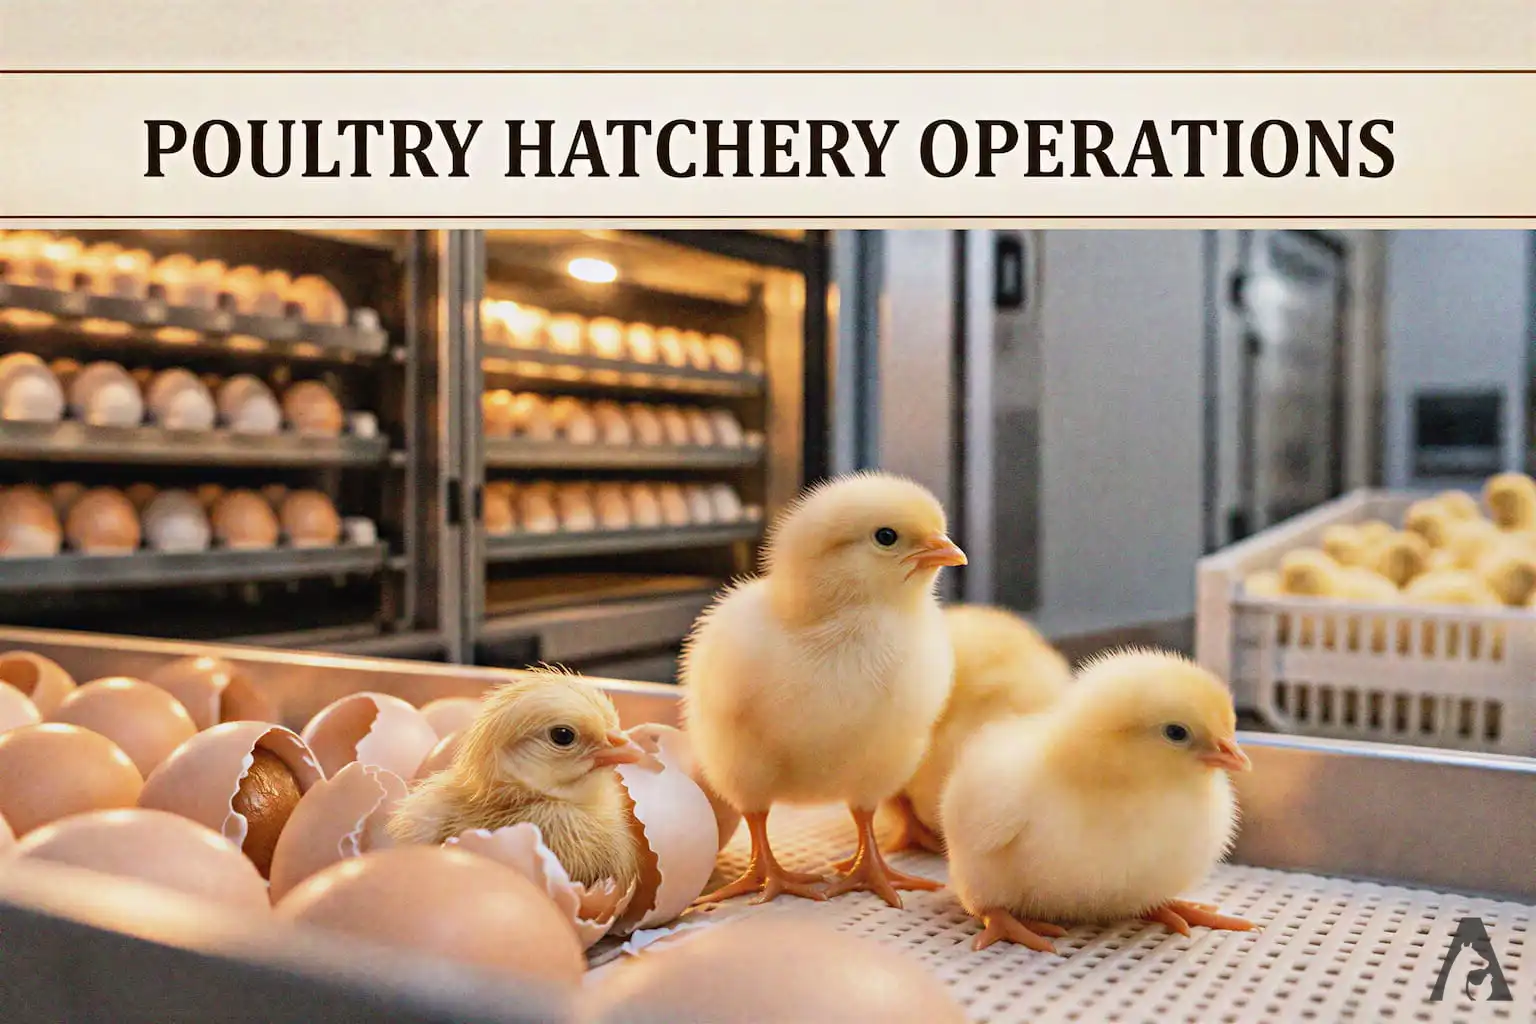
The sequence of hatchery operations followed in commercial hatcheries is:
- Securing hatching eggs
- Traying hatching eggs
- Fumigation
- Cold storage
- Warming eggs prior to setting
- Loading of eggs
- Candling
- Transfer of eggs
- Pulling the hatch
- Hardening
- Grading
- Sexing
- Vaccination
- Chick delivery
- Washing and cleaning
- Disposal of waste
1. Securing Hatching Eggs
Hatcheries can obtain hatching eggs in any one of the following ways:
- From their own breeder flock
- From other breeder flocks
- From other hatcheries
2. Traying Hatching Eggs
The eggs from the breeder flocks should be transferred to the egg setter trays in the hatchery immediately after receiving them.
3. Fumigation of Hatching Eggs
After traying, the eggs are kept in the fumigation chamber for fumigation. Fumigating with a 3x concentration of formaldehyde for 20 minutes will kill about 97.5 to 99.5% of the organisms on the shells.
One ‘x’ concentration means 20 g of KMnO₄ with 40 ml of formalin per 100 cubic feet (3x means 60 g of KMnO₄ + 120 ml of formalin per 100 cubic feet).
4. Cold Storage
When the eggs are not set immediately after receiving them, they should be kept in a cold room at a temperature of 65°F and 75% relative humidity.
5. Warming Eggs Prior to Setting
Approximately 6 hours prior to placing the eggs in the setter, they should be moved from the egg-cooler room to normal room temperature. Here, atmospheric moisture may condense on the eggshells and form water droplets, which is called ‘sweating’.
It is advantageous to warm the eggs before placing them in the incubator, as this avoids creating a low temperature in the machine by placing cool eggs directly into it.
6. Loading of Eggs
Placing eggs in the setter is called ‘loading of eggs’. Eggs can be set in the setter either on an all-in, all-out basis or on a batch basis.
Most commercial hatcheries practice a batch system of loading eggs into the setter, which minimizes the initial time taken to reach the normal incubation temperature in the setter. In this case, each setter contains hatching eggs at different stages of embryonic development.
7. Candling
Candling is a process in which eggs are placed in front of a light source to identify defects in the eggshell, assess embryonic development, etc.
Candling can be done as early as five days of incubation, but errors in candling often occur at this time. In commercial operations, candling is done when the eggs are transferred from the setter to the hatcher (on the 19th day for chicken eggs).
There are two methods of candling that can be used. The fastest method involves the use of a table or mass candler. An entire tray of hatching eggs may be placed on the mass candler and examined in a single observation. Candling with a spot candler or individual candler is a little slower, but it is more accurate.
8. Transfer of Eggs
In modern incubators, eggs are transferred from the setter to the hatcher on the 19th day of incubation (for chicken eggs) or when approximately 1% of the eggs are slightly pipped. In general, one-seventh of the total incubation period is needed to keep the eggs in the hatcher.
9. Pulling the Hatch
The process of removing the chicks from the hatcher is often called pulling the hatch. Chicks should be removed from the hatcher as soon as all have hatched and about 95% are dry. Excessive drying in the hatcher should be avoided.
10. Hardening the Chicks
When the chicks are first placed in the chick boxes, they are soft in the abdomen, are not completely fluffed out, and do not stand well.
They must be “hardened” by leaving them in the boxes for 4 or 5 hours. Such hardening makes it easier to grade the chicks for quality, and the chicks are more easily vent-sexed.
11. Grading the Chicks
No chick below the minimum standard should be sent to a customer. Some standards for quality are: 1) no chick deformities, 2) no unhealed navels, 3) above a minimum weight, 4) not dehydrated, and 5) able to stand well.
12. Sexing the Chicks
Layer-type day-old chicks need to be separated by sex, either by vent sexing or auto-sexing (feather sexing). In the case of meat-type day-old chicks, sexing is not practiced.
13. Vaccination
Most chicks are vaccinated against Marek’s disease in the hatchery before delivery. The most common method of vaccination for day-old chicks is subcutaneous administration in the nape of the neck.
14. Chick Delivery
Baby chicks should reach the customer’s farm early in the morning. Not only is the weather cooler during this part of the day, but early arrival also allows a full day for close observation of the chicks by the caretaker.
15. Washing and Cleaning
Cleaning the hatchery between hatches is of primary importance. The process must be thorough. Except for the setters and the setter room, every piece of equipment must be thoroughly vacuumed, scrubbed, disinfected, and fumigated.
16. Disposal of Waste
Hatchery waste includes infertile and unhatched eggs, as well as dead and cull chicks, which should be disposed of in a manner that does not create problems for neighboring properties or contaminate the hatchery premises.